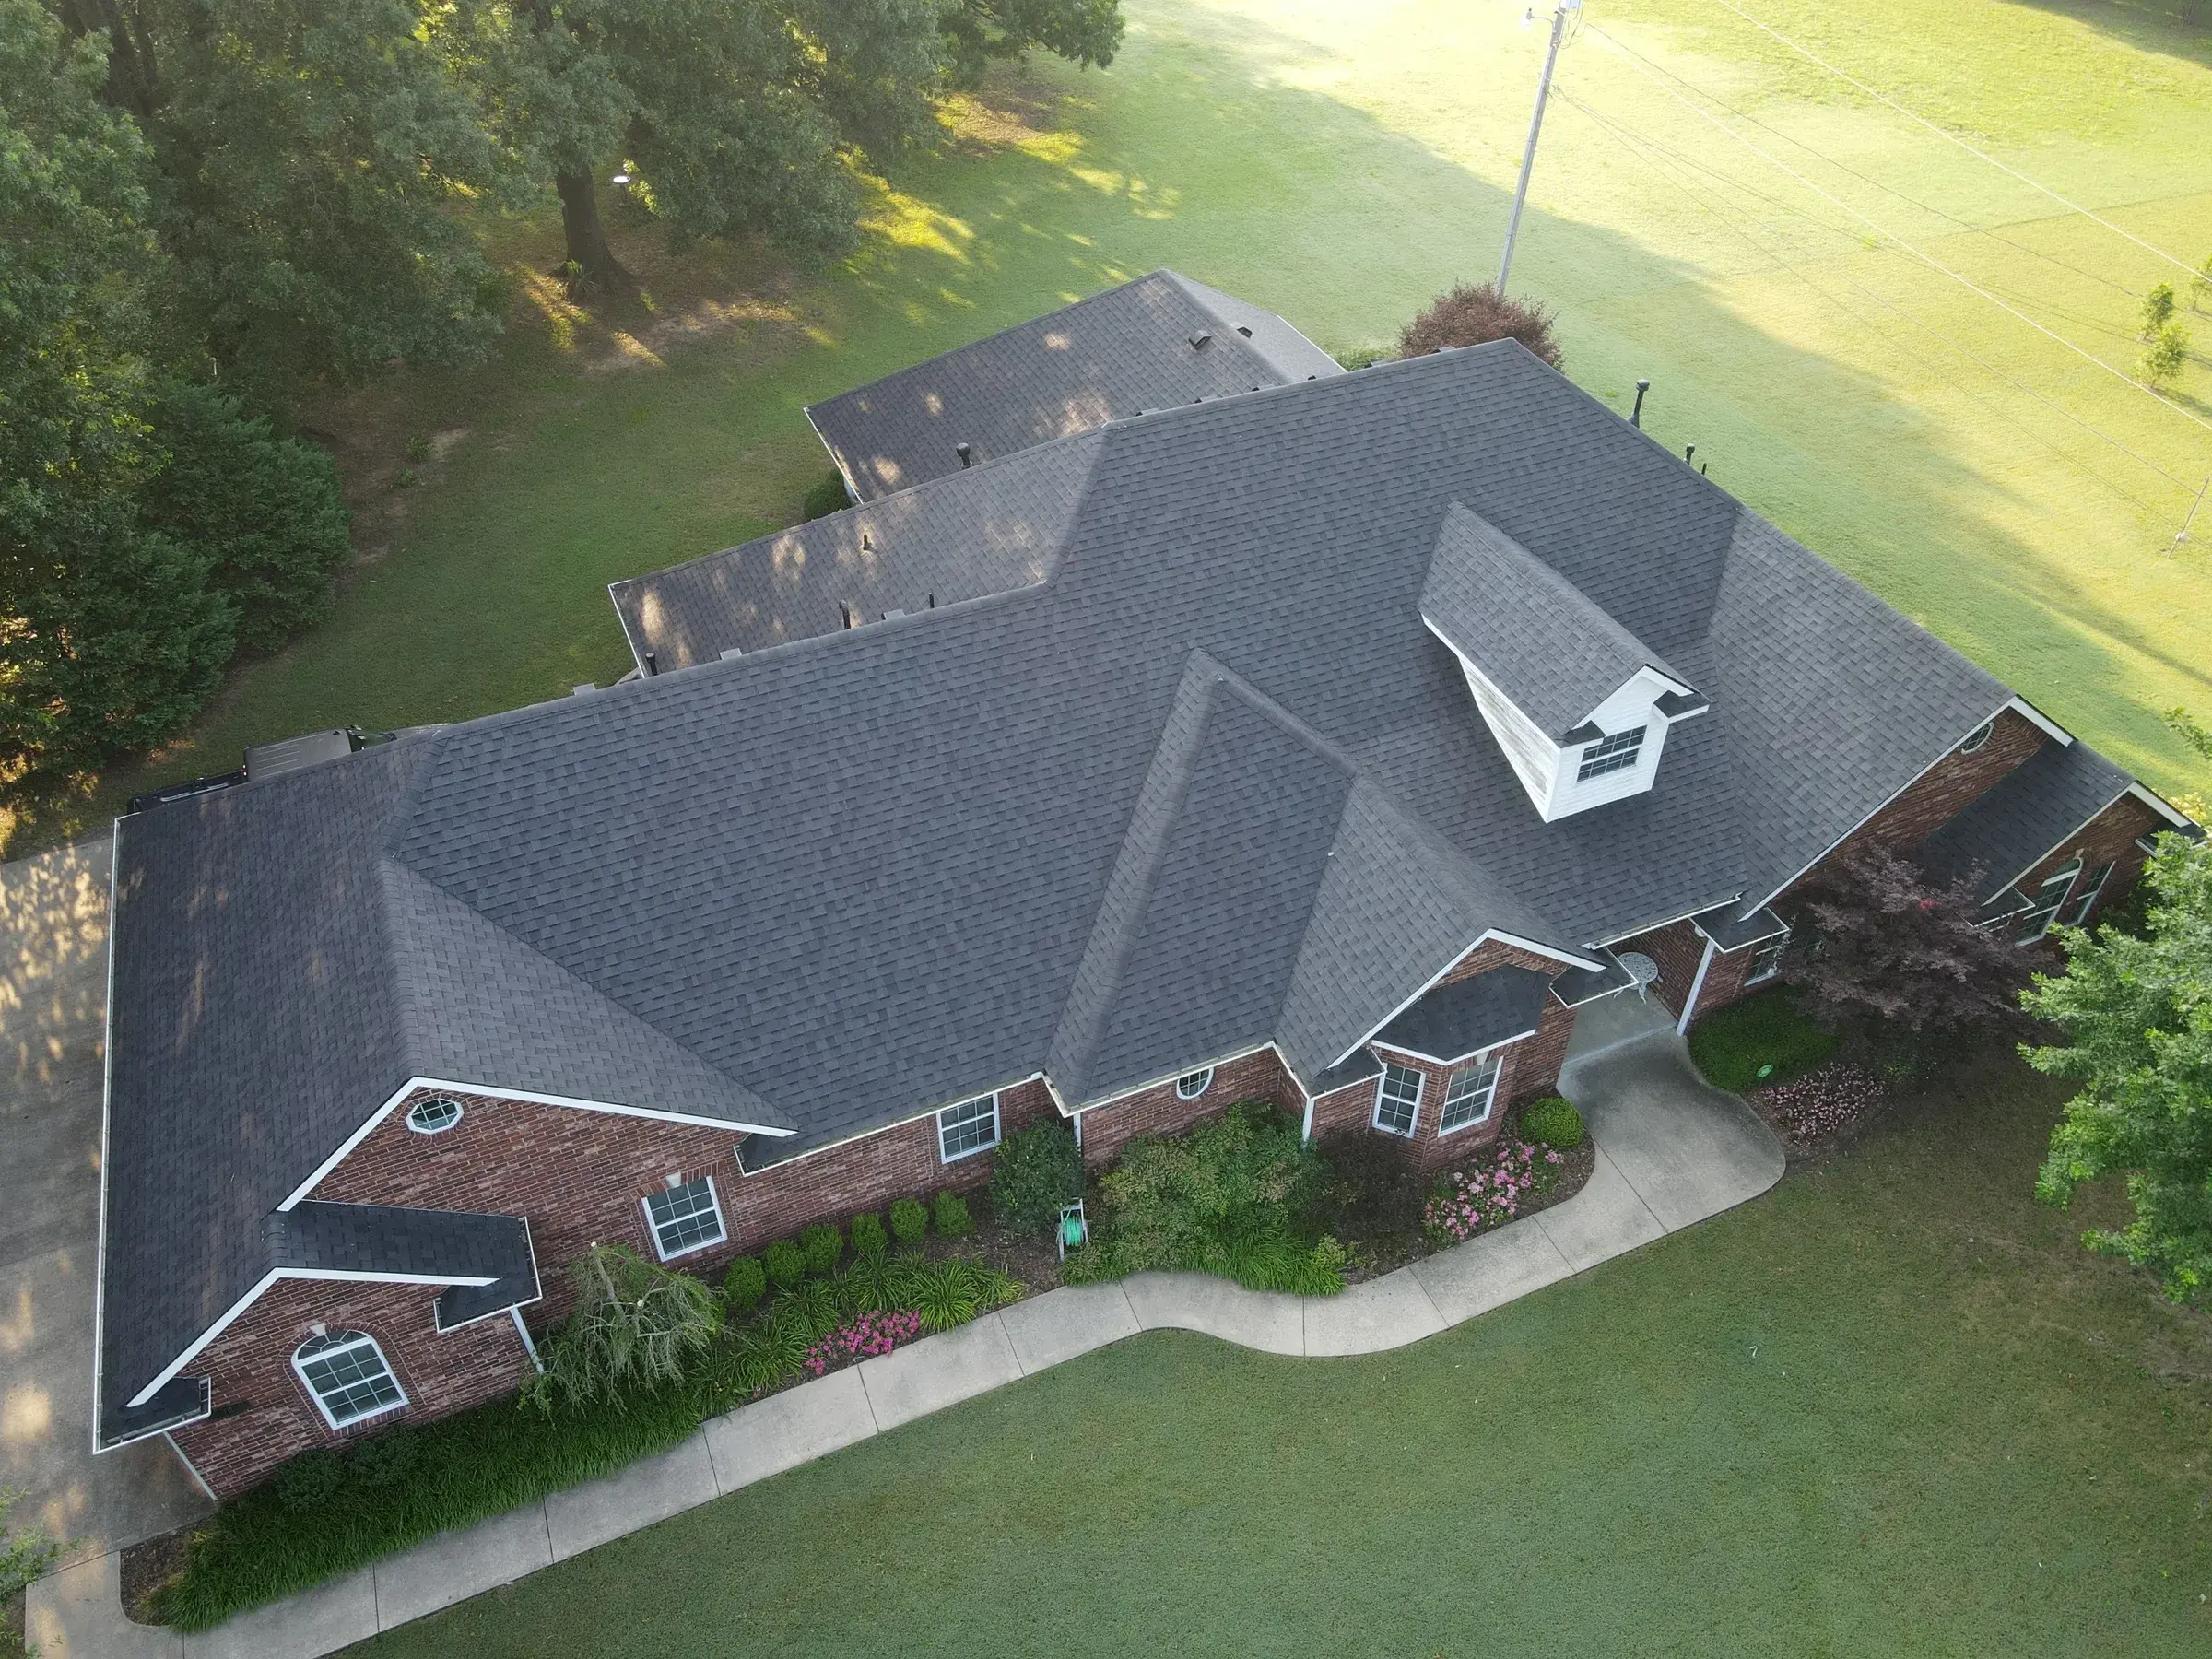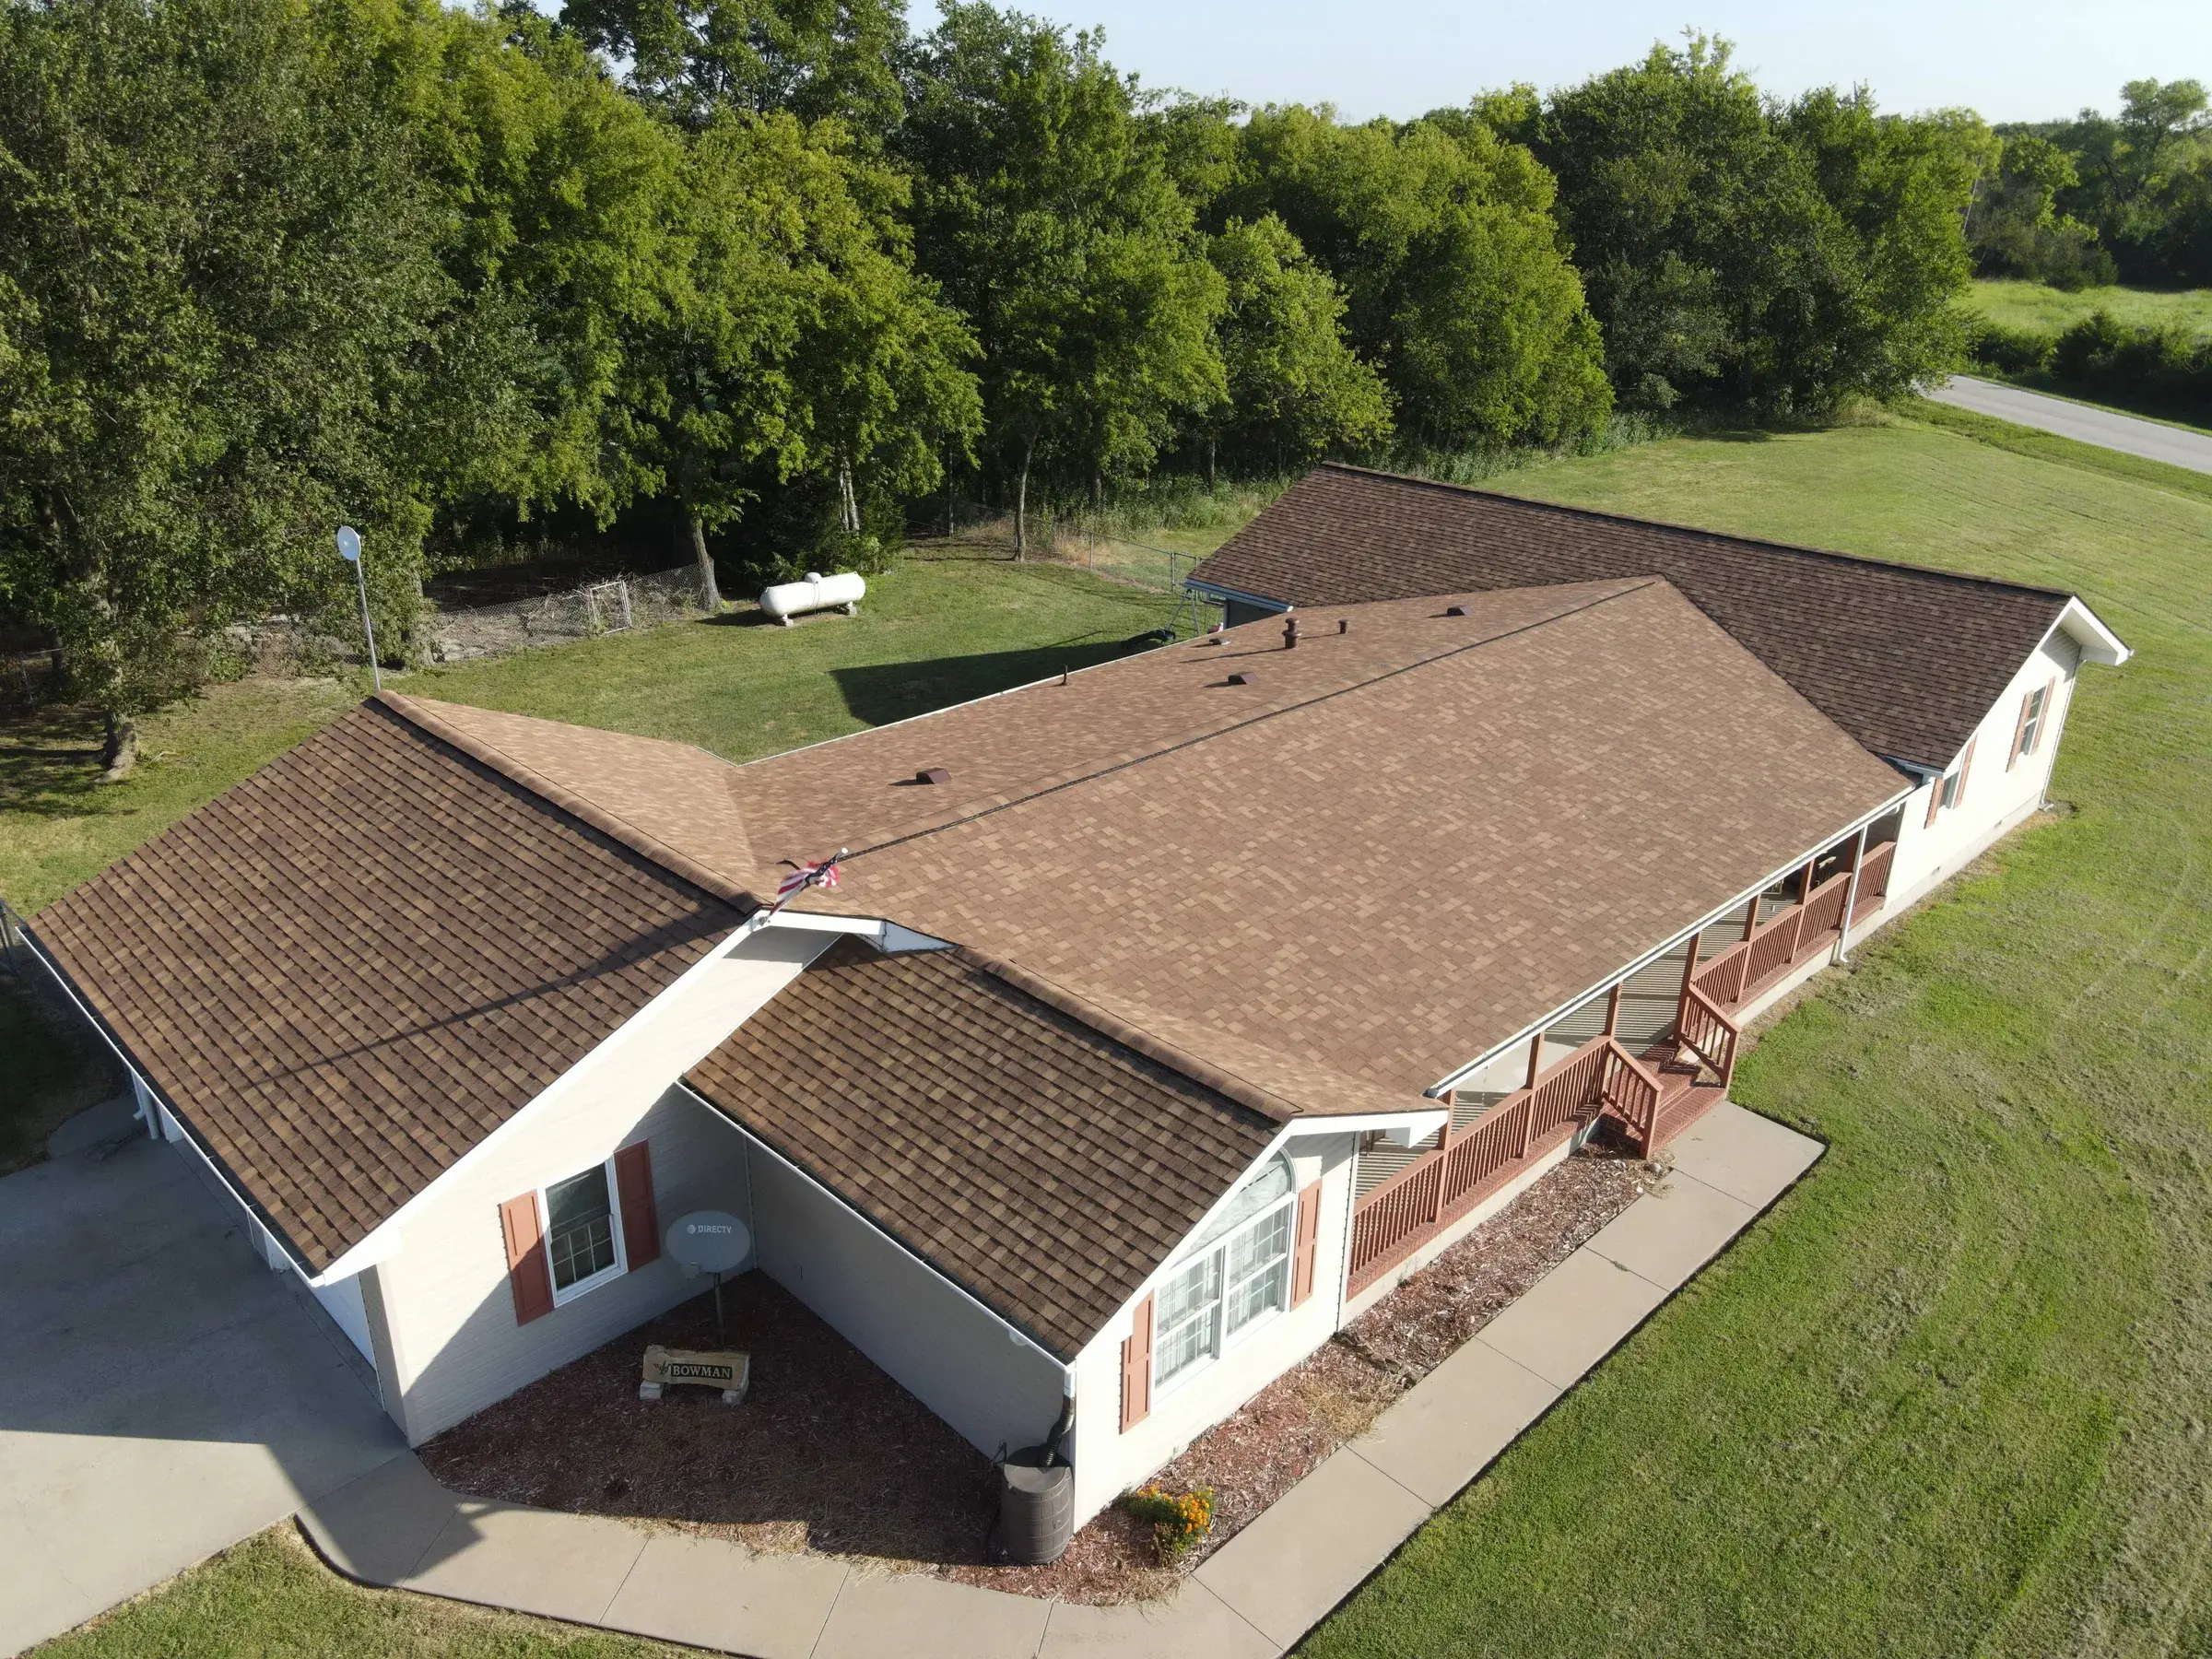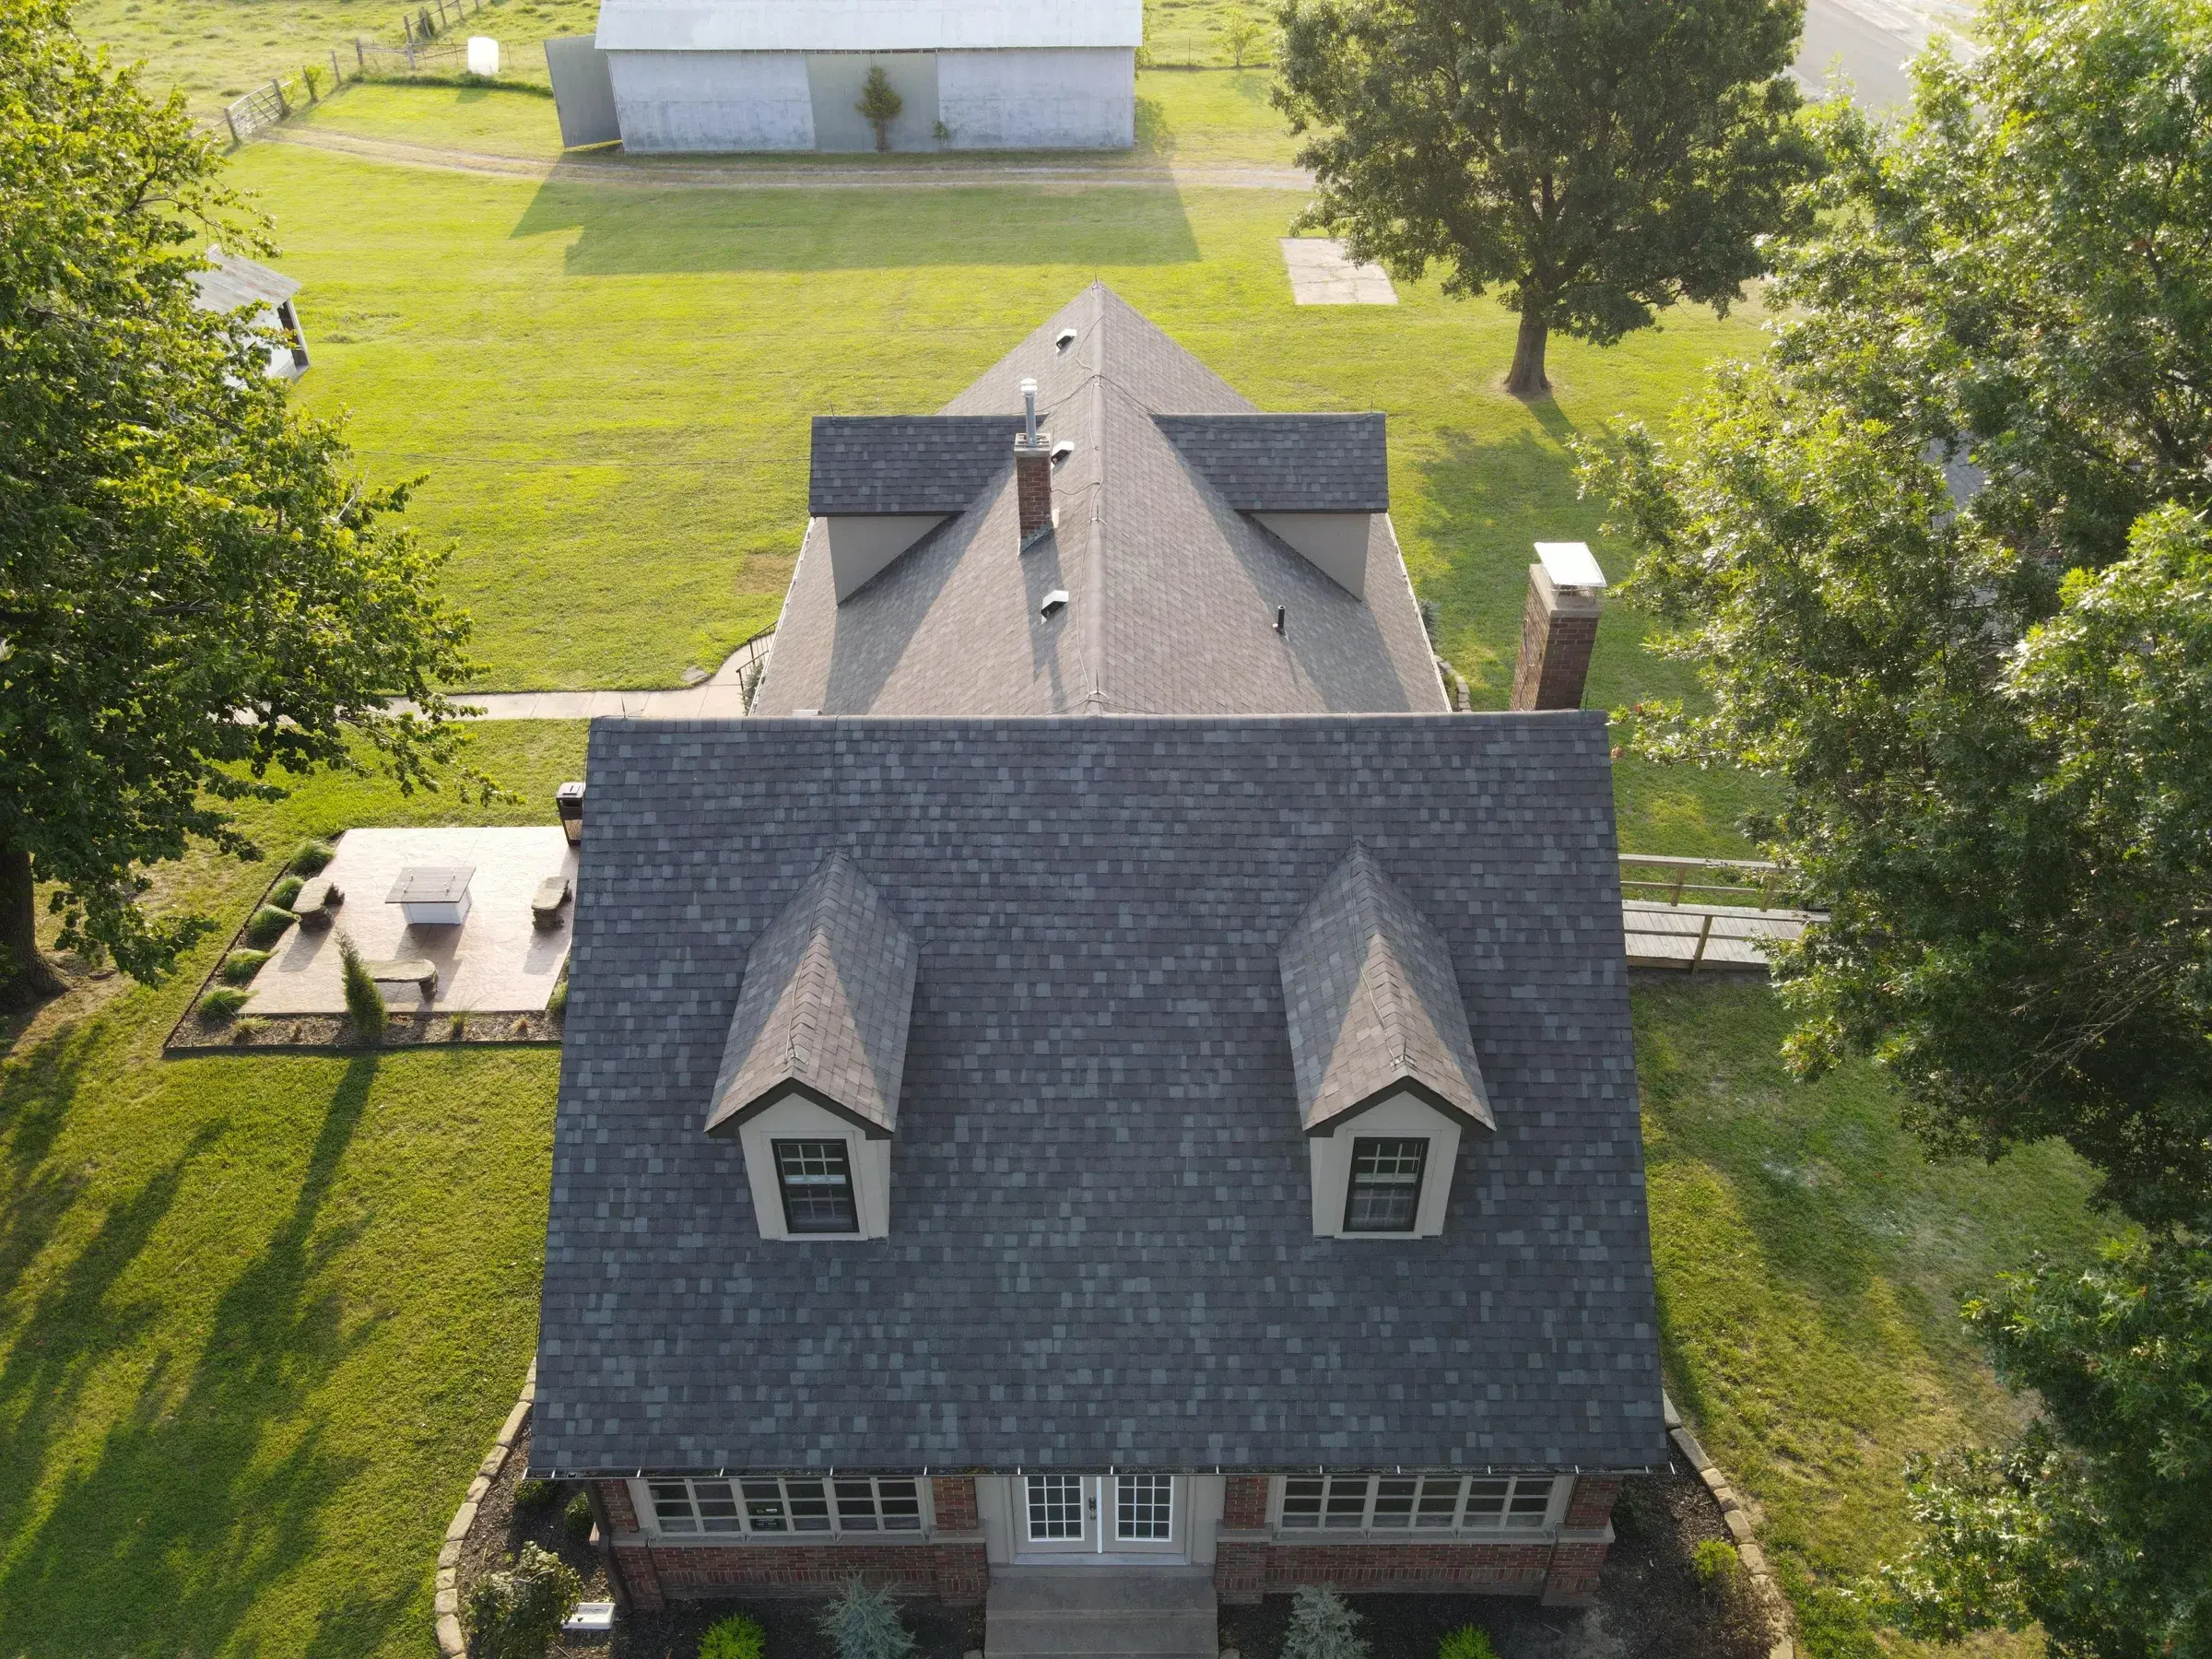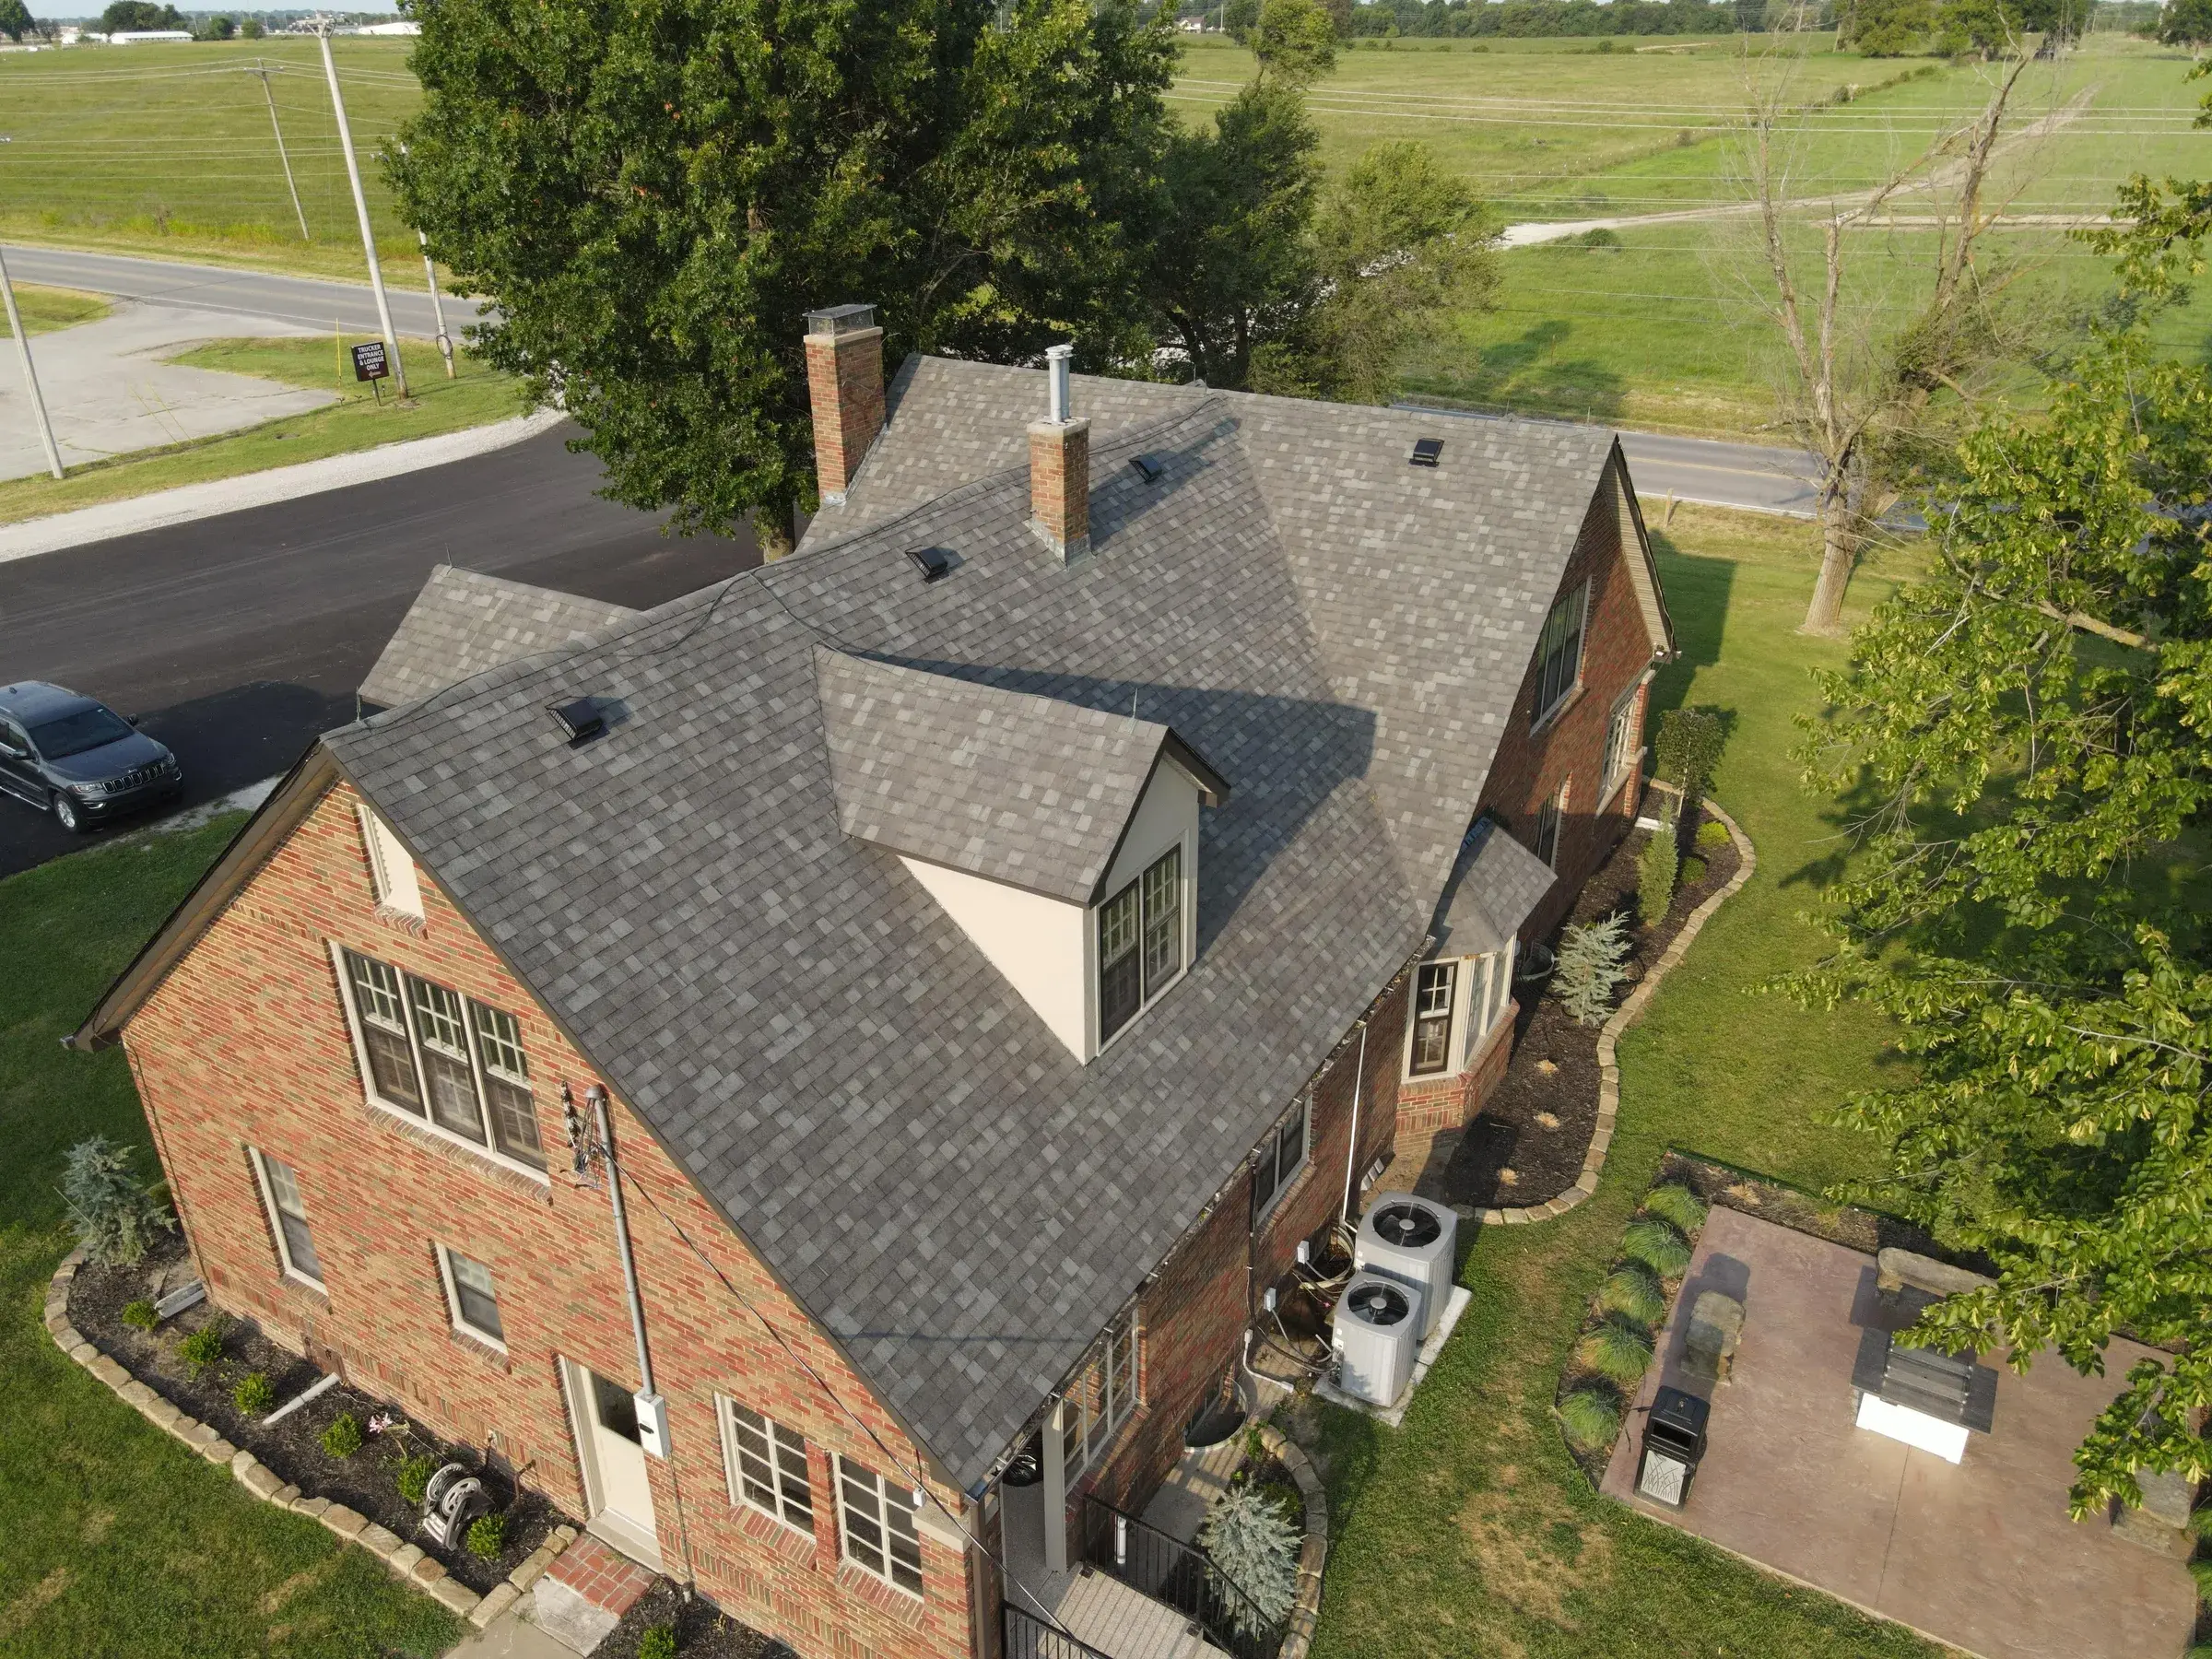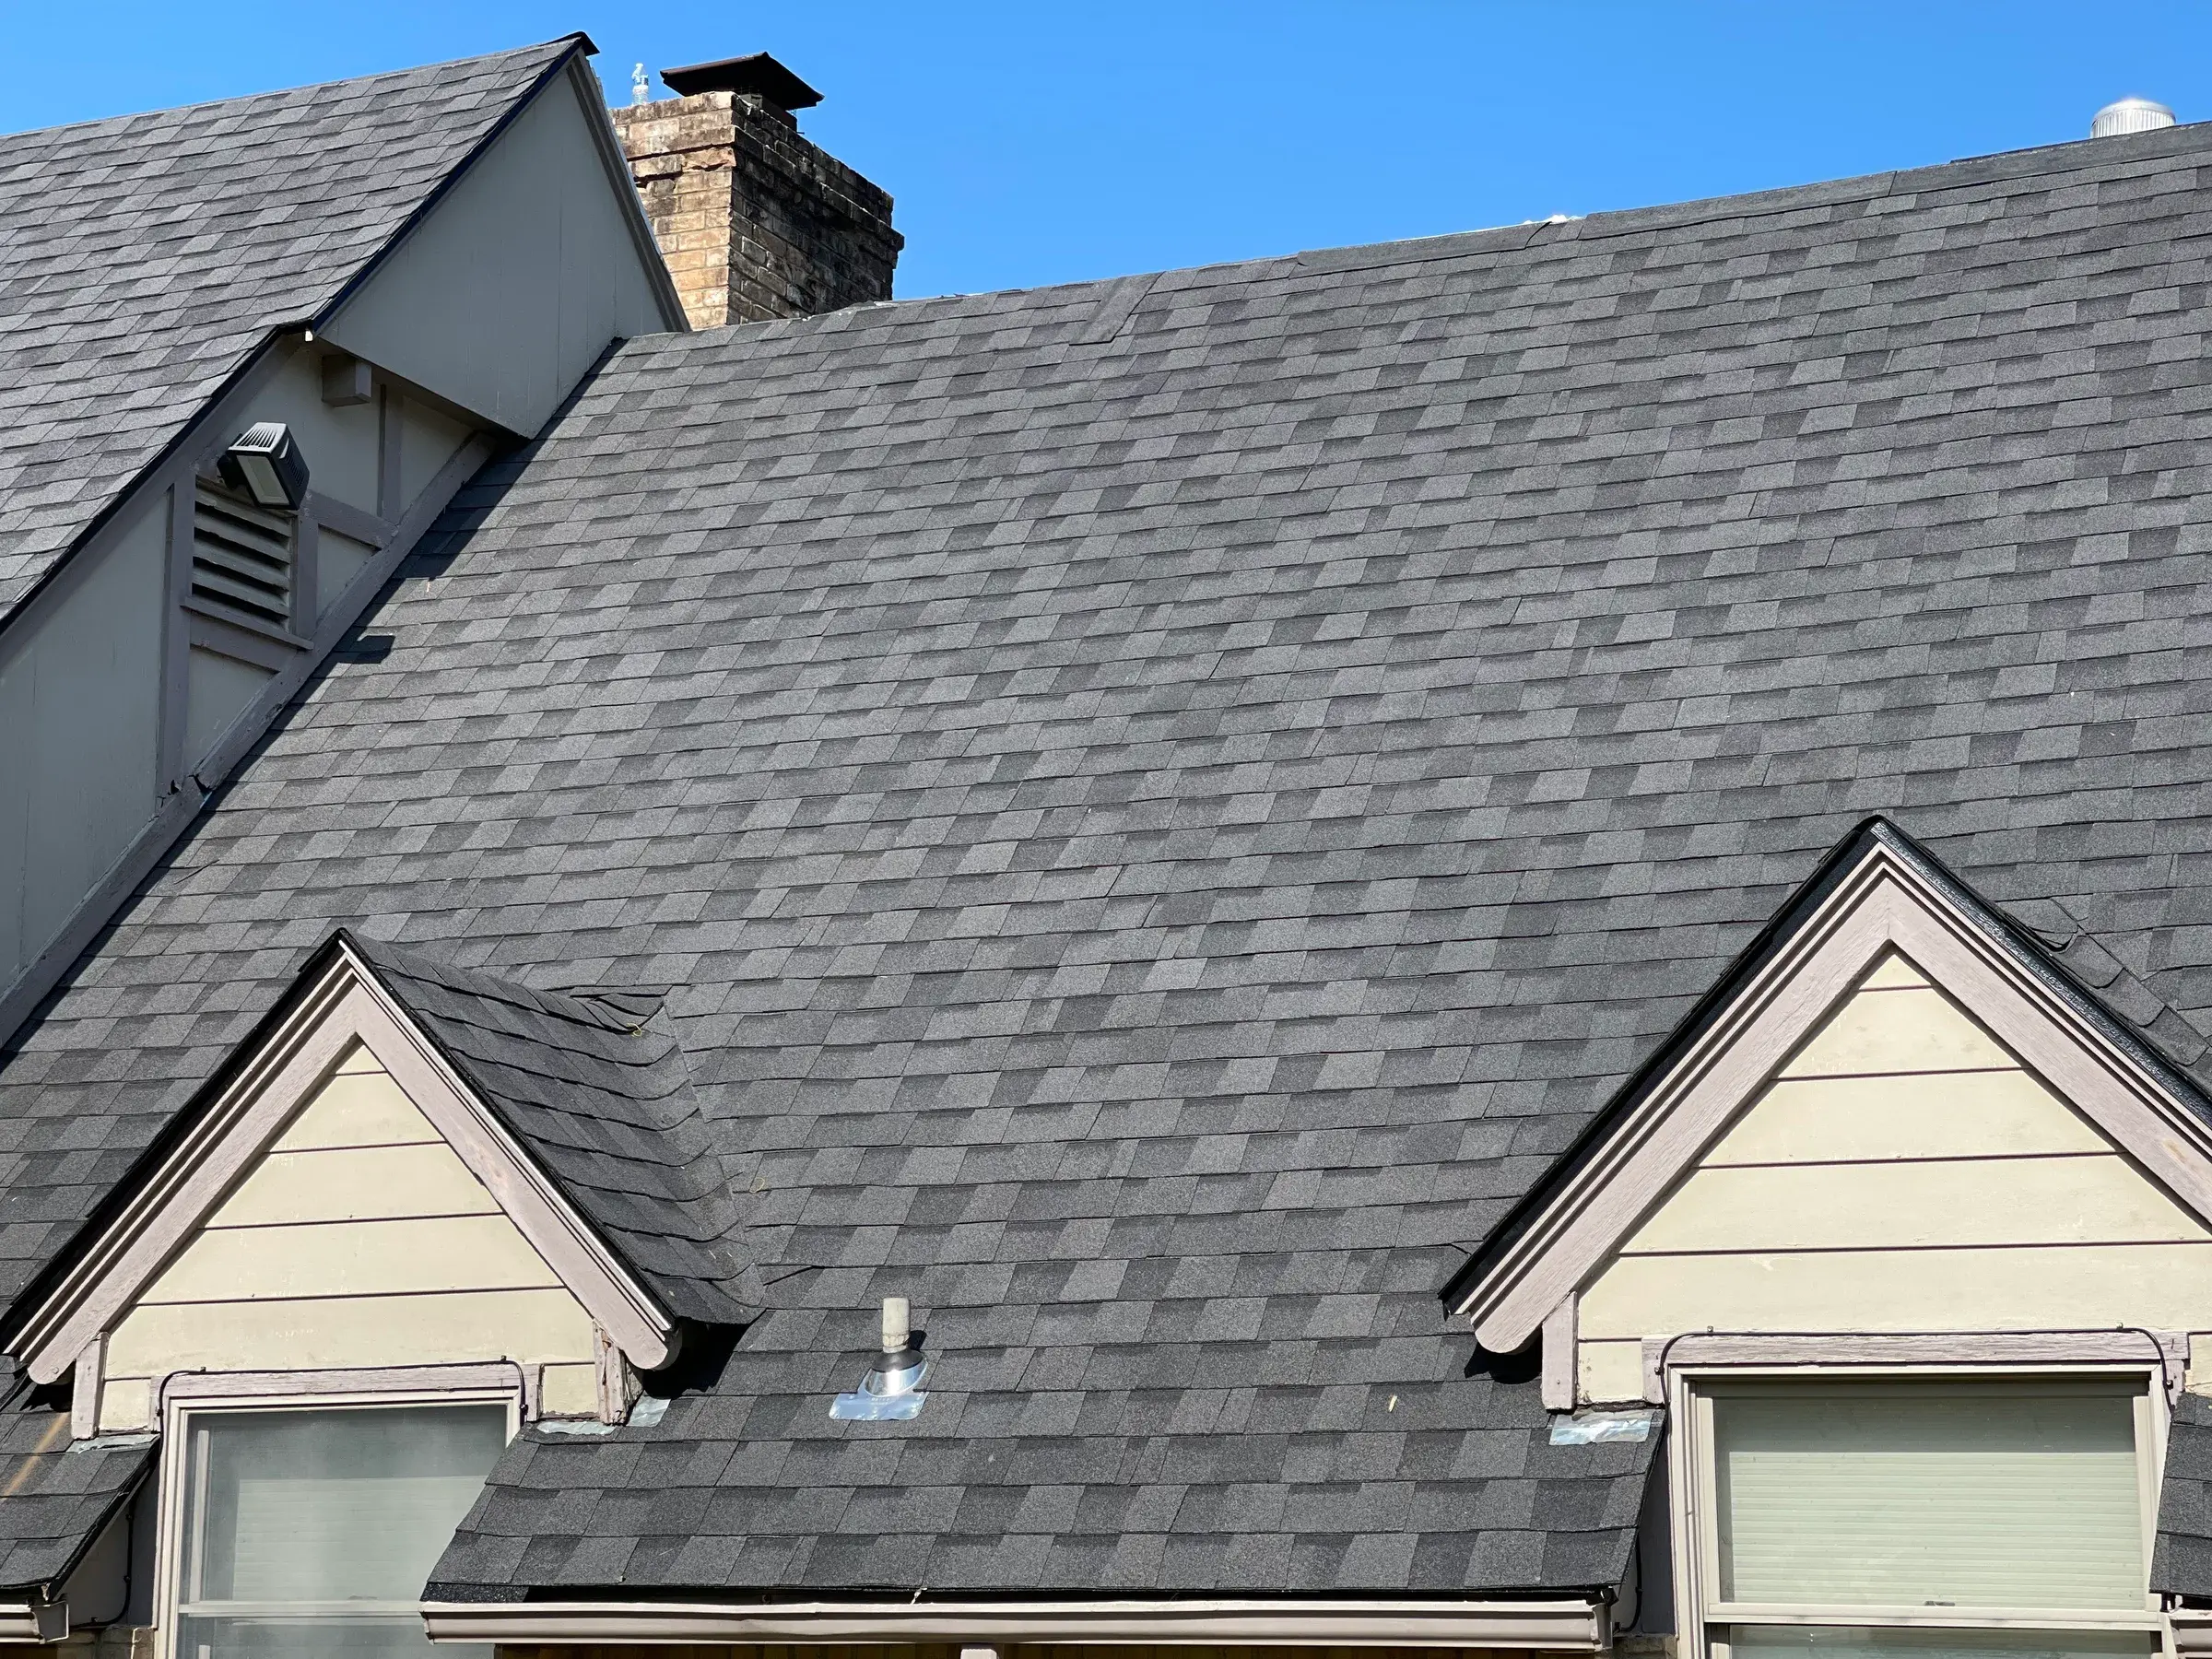
Flashing is the metal that seals every place the roof meets something else — chimneys, walls, valleys, pipes, skylights. Most leaks start here, not in the open field of shingles, because these transitions rely on correct layering rather than sealant. When you see a bead of caulk on flashing, you are usually looking at a repair that failed.
Why Leaks Start at Transitions, Not in the Field
A shingle in the middle of a slope has an easy job. It overlaps the one below it, water runs downhill across the top of it, and gravity does the rest. There is nothing to solve there. Roofs almost never fail in that open field unless something physically broke the shingle.
The hard part is everywhere the roof plane stops. A chimney interrupts it. A dormer wall interrupts it. A valley makes two planes dump into one line. A plumbing vent punches a hole straight through the deck. Every one of those spots needs metal shaped to carry water back out onto the shingles, and that metal is called flashing.
The NRCA Roofing Manual gives steep-slope flashing its own body of detail drawings, separate from the field of the roof, and that division tells you something. The field is repetition. The flashing is where a roof is actually designed. If a roof is going to fail, it fails at a design decision, not at a repeated one.
Ottawa County pushes on both ends of this. The east side of the county sits in the Ozark Plains — rockier, wooded, rolling — so valleys and chimney backs collect leaf litter that holds water against metal. The west side runs into the Neosho Lowlands, flat prairie with open wind fetch, where rain arrives sideways and gets driven up under laps that would be fine in a vertical downpour. Same county. Two different flashing problems.
| Flashing type | Where it's used | How it usually fails | Typical fix |
|---|---|---|---|
| Step flashing | Where a sloped roof runs alongside a vertical wall (dormers, chimney sides) | Replaced with one long bent strip, or reused and re-nailed through the face | Remove siding or counter flashing and weave in new individual pieces, one per shingle course |
| Counter flashing | Over the top of step or base flashing on masonry — chimneys, brick walls | Surface-mounted and caulked instead of set into a cut reglet; sealant fails and the joint opens | Cut a reglet into the mortar joint, set new metal, mechanically fasten and seal the reglet only |
| Apron / head flashing | Where a roof slope dead-ends into a wall face, and above windows or wall penetrations | Too short, or the ends are not turned up, so water runs off the sides | Replace with wider metal, hemmed and turned at the ends |
| Valley flashing | Where two roof planes meet and drain into one line | Debris dams, rusted-through metal, nails driven too close to the centerline | Open the valley, replace metal or the closed-cut assembly, keep fasteners out of the drainage path |
| Pipe boot | Plumbing vents that pass through the deck | The rubber or neoprene collar cracks and splits from UV; the seal at the pipe fails first | Replace the boot, or fit a metal collar or a lead boot; a rubber patch over a split collar is temporary |
| Drip edge | Eaves and rakes, at the perimeter of the roof | Omitted, or installed in the wrong order relative to underlayment | Add or reset the metal in correct sequence during a tear-off |
| Kickout flashing | The bottom end of a roof-to-wall run, where the roof edge meets a wall that keeps going | Missing entirely — the single most common omission on this list | Add a kickout at the eave end and direct it into the gutter |
| Skylight flashing | Around a curb or deck-mounted skylight | Site-fabricated metal or caulk instead of the manufacturer's flashing kit | Install the correct kit for the unit and the roof covering |
| Chimney cricket / saddle | On the up-slope side of a wide chimney | Absent, so snow, ice and leaves pile behind the chimney and sit | Frame and flash a cricket that splits water around both sides |
Step Flashing: How It Works and Why It's Skipped
Step flashing is a stack of small L-shaped pieces of metal — one leg on the roof, one leg up the wall. There is one piece for every course of shingles. Each piece laps over the one below it, so water that runs down the wall lands on a piece of metal, gets carried a few inches out onto the shingle, and repeats the trip until it reaches the gutter.
It works because of the order things go on. Nothing about step flashing depends on sealant. It depends on layering — every piece shingled over the piece below, the way roof tiles have worked for centuries.
The layering, bottom to top
- Underlayment goes on the deck and turns up the wall face a few inches.
- The first shingle course is laid to the wall.
- A step flashing piece sits on that course, roof leg on the shingle, wall leg up the wall, and is nailed through the roof leg high up — not through the wall leg's face, and not near the bottom edge.
- The next shingle course covers that flashing's roof leg, hiding the nail.
- A new step flashing piece laps over the previous one by a couple of inches.
- Repeat all the way up the wall. Every flashing piece is trapped between two shingle courses.
- Siding or counter flashing comes down over the wall legs, stopping short of the roof so the metal can drain — it is not caulked tight to the shingles.
So why does it get skipped? Because doing it right means the siding has to come off or come up. That is extra labor and extra risk of damaging someone's siding. The shortcut is one continuous strip of bent metal run up the wall, face-nailed and caulked along the top. It looks tidy from the driveway. It puts fasteners straight through the water path, and the whole thing then relies on a bead of sealant that Oklahoma weather is actively working on.
Continuous strip flashing at a sidewall is one of the fastest ways to tell that a roof was priced rather than built. If you can see a long unbroken piece of metal where the roof meets a wall, that is worth a closer look during a [roof inspection](/services/roof-inspections).
Counter Flashing and the Chimney Problem
Chimneys need two layers of metal, not one. The bottom layer — base and step flashing — sits under the shingles and on the masonry. The top layer, counter flashing, covers the top edge of that bottom layer so water running down the brick cannot get behind it.
Done correctly, counter flashing is not stuck to the brick. A thin slot called a reglet is cut into a mortar joint, the metal's turned edge goes into that slot, and the slot gets sealed. The SMACNA Architectural Sheet Metal Manual details it this way for a reason: the sealant is buried in a groove where it is protected, and the metal is held by the masonry rather than by adhesive.
The shortcut version is metal laid flat against the brick face with a fat bead of caulk along the top. That bead is the entire waterproofing system, and it is exposed to everything. The Oklahoma Climatological Survey's 1991-2020 normals put Miami at 89 nights a year below freezing and 57 days above 90 degrees. That is a lot of expansion and contraction pulling on a joint between metal and masonry, plus roughly 62 percent annual sunshine cooking the sealant from above. Surface-mount and caulk is a repair with a shelf life.
Older masonry in town adds a second issue. Miami was platted in 1891, and a fair share of its housing stock carries brick chimneys with mortar joints that have been through a century of this. Cutting a clean reglet into soft, deteriorated mortar sometimes means tuckpointing has to happen before flashing can. That is a masonry conversation, not a roofing one, and it is better to hear it before the shingles are off than after.
Valley Flashing: Open, Closed-Cut, and Woven
A valley is where two roof planes meet and everything they collect drains into one line. It carries more water than any other part of the roof, so it is the least forgiving. ARMA — the Asphalt Roofing Manufacturers Association — recognizes three standard ways to build one, and all three are legitimate when they are done to the shingle manufacturer's instructions.
Open valley
Metal stays exposed down the center; shingles are trimmed back on both sides. Water touches metal, not asphalt. It sheds debris better than the other two, which matters on the wooded east side of the county and anywhere the house sits under mature oaks. It is also the easiest to inspect, because you can see the drainage surface.
Closed-cut valley
Shingles from one plane run through the valley; shingles from the other plane are cut in a straight line a couple of inches off the centerline. Common, clean-looking, and fine when the underlying valley lining and the fastener setback are right.
Woven valley
Courses from both planes alternate across the valley. Not permitted with every shingle — laminated architectural shingles are too thick to lie flat woven, and many manufacturers say so directly in their installation instructions.
Whatever the method, two things sink valleys here. The first is fasteners driven too close to the center, right in the water's path. The second is debris. A valley packed with leaves and pine needles becomes a dam, water backs up sideways under the shingles, and the roof leaks on a calm day with no wind involved. Keeping valleys and the gutters they feed clear is genuinely preventive work, which is part of why [gutter cleaning](/services/gutter-cleaning) is not just about the gutters.
Pipe Boots: The Cheapest Part That Fails First
Every plumbing vent on the house is a pipe sticking straight up through the roof deck. A pipe boot seals it: a metal or plastic flange that lays into the shingle courses, with a rubber or neoprene collar that grips the pipe.
The flange usually outlives the house. The collar does not. Rubber sitting in full Oklahoma sun, on a roof surface that hits its August normal high of 91.5 degrees in the air and much hotter on the shingle, hardens and then splits. The split runs around the pipe where the collar is stretched tightest. From the ground it is invisible. From a ladder it is obvious.
This is the classic mystery leak. A stain shows up on a bedroom ceiling, nothing looks wrong on the roof, and the culprit is a two-inch crack in a component that costs less than lunch. Hail makes it worse — the Oklahoma Climatological Survey records 4 to 5 days a year with hail larger than three-quarters of an inch in this area, and a boot collar that is already brittle from UV does not need much of a strike to open up.
Grand Lake changes the math on this one. Roughly 13 percent of Ottawa County's housing units sit vacant at any given time, a lot of that seasonal lake property. A split boot on a house that nobody walks into between October and April can drip into an attic for months. If you own a place you are not in weekly, the boots are the first thing to look at, not the last.
Drip Edge and Why It Matters More Than It Looks
Drip edge is the L-shaped metal that runs along the eaves and up the rakes at the roof's perimeter. It looks like trim. It is not trim. It does two jobs: it keeps water from curling back under the shingle edge and wicking into the fascia and decking, and it delivers runoff into the gutter instead of behind it.
Order matters and it is not intuitive. At the eaves, the drip edge goes on first and the underlayment goes over it. At the rakes, the underlayment goes down first and the drip edge goes over it. Get it backward at the eave and you have built a channel that feeds water to the fascia board.
Drip edge at eaves and rakes on asphalt shingle roofs is required under the residential code in force in Oklahoma. The exact wording moves between code editions, so if you want the letter of it for your project, ask the City of Miami building official — the city requires a permit for new roofs and re-shingles, and we pull it as part of the job.
Rotted fascia and soft decking at the eave is the tell for missing or misordered drip edge, and it is one of the more expensive quiet failures because by the time it shows, you are paying for carpentry along with roofing. That shows up in a [roof replacement estimate](/blog/roof-replacement-cost-oklahoma) as decking and fascia line items nobody planned for.
Skylight Flashing and Why Kits Exist
A skylight is a hole in the roof with glass in it. Everything about keeping it dry is flashing: an apron at the bottom, step flashing up both sides, a head flashing at the top, and on many units a separate underlayment and gasket layer beneath all of it.
Skylight manufacturers publish flashing kits matched to the specific unit and the specific roof covering. There is a reason those exist, and it is not upselling. The geometry of a curb, the height of the frame, and the way the head flashing has to tuck under the course above it are unit-specific. Metal bent on site to approximate a kit is a guess at somebody else's engineering, and the manufacturer's own installation instructions are usually explicit that the kit is part of the assembly.
When a skylight leaks, the glass is rarely the problem. It is the head flashing, or the fact that the unit was set into an existing roof by somebody who caulked instead of layered. Whether the answer is re-flashing the unit you have or replacing it is a judgment call that depends on the unit's age and the condition of the deck around it — that is the conversation behind our [skylight installation and repair](/services/skylight-installation-and-repair) work.
Kickout Flashing: The Missing Piece That Rots Walls
Here is the one most homeowners have never heard of and the one that does the most structural damage.
Picture a roof running alongside a wall — a garage roof against the house, or a dormer. The step flashing carries water down the wall course by course. At the bottom, the roof edge ends at the gutter, but the wall keeps going. Without something to turn that water outward, all of it — the entire wall's worth, concentrated at one point — pours straight into the wall assembly behind the siding.
A kickout is a small piece of metal at the bottom of that run, bent to throw water out and into the gutter. It is a few dollars of steel. Building America and DOE building-science guidance treats it as a standard requirement precisely because its absence causes hidden wall moisture damage rather than a visible roof leak, and the residential code calls for the flashing at that intersection to divert water away from the wall. Ask your building official how the current adopted edition words it.
What happens when it's missing
- Rain lands on the roof plane and runs down against the wall.
- Step flashing does its job and delivers the water to the bottom of the run.
- With no kickout, the water sheets off the last piece of flashing and hits the siding directly, at one concentrated point.
- It gets behind the siding through the first lap joint it finds.
- The water-resistive barrier and sheathing behind the siding stay wet after every rain and never fully dry.
- Sheathing softens. Framing at the corner rots. Mold grows inside the wall cavity.
- The first visible symptom is often bubbling paint, a soft spot in the siding, or interior staining at a corner — sometimes years in, long after the roof itself was 'fine'.
If you have a roof-to-wall junction on your house, walk out and look at the bottom of it. Either there is a small piece of metal turning the water out into the gutter, or there is not. It is one of the few roofing details a homeowner can check from the ground in ten seconds.
Why Caulk Is a Symptom, Not a Repair
Flashing works by layering. Water hits metal, metal directs it onto a surface below it, gravity finishes the job. Nothing in that chain requires anything to stick.
Caulk is different. Caulk is an adhesive seal, and every adhesive seal is on a clock. It is being pulled by expansion and contraction, cooked by UV, and frozen and thawed. In this market that clock runs fast: 5 days a year over 100 degrees, 89 nights below freezing, and a record high of 116 degrees set right here in Miami back in 1954. Sealant has a legitimate role — inside a reglet, at a fastener head, at a lap the detail calls for. It is a supporting player, not the structure.
So when you see a heavy bead of caulk or roofing cement smeared across flashing, read it as a message. Somebody was there. Somebody found water. Somebody chose the fastest thing that would stop it that afternoon. The layering underneath is probably still wrong, and now it is wrong and hidden.
Black roofing cement troweled around a chimney is the loudest version of this. It buys a season, maybe two, and it makes the eventual correct repair harder because the cement has to come off the masonry first. If you are trying to figure out whether what you are seeing needs attention now or can wait for the next dry stretch, that is a triage question — we cover it in [how urgent is a roof leak](/blog/roof-leak-how-urgent-is-it).
Reusing Old Flashing on a New Roof: When It's Acceptable
A tear-off exposes every piece of flashing on the roof. That is the one moment in a roof's life when replacing it is cheap, because the labor to get to it is already being paid for. Oklahoma amended the residential code's re-covering provision (IRC R908.3.1.1) to require tear-off rather than shingling over in defined conditions, which means a lot of roofs here get down to the deck — and every one of those is a chance to get the metal right.
Reuse is not automatically wrong. Heavy-gauge copper or well-made galvanized counter flashing set into a sound reglet can outlast two shingle roofs, and there are cases where taking it out does more harm than leaving it. The question is whether reuse was a decision or a default.
Reuse is defensible when the metal is heavy-gauge and not thinned by corrosion, the fastener pattern and reglet are still sound, and nothing has to be bent back into place — bending fatigues metal, and a piece that gets flexed to fit is a piece that will crack at the bend. Reuse is a bad idea for anything thin, pitted, rusted at the fold, or previously buried in roofing cement, and for step flashing generally: individual pieces are inexpensive, they are pulled apart during tear-off anyway, and reusing them means re-nailing old metal through old holes.
What to Ask About Flashing on Your Estimate
Two bids on the same roof can differ by a real amount purely on flashing, and nothing on the front page will tell you that. The line items are where it shows. Here is what should be spelled out.
Flashing line items that belong on a replacement estimate
- Step flashing — new or reused, stated explicitly, and at which walls and dormers
- Whether siding will be lifted or removed to install step flashing correctly, and who puts it back
- Counter flashing — new metal into a cut reglet, or reuse of existing, with the reason given
- Chimney work — including a cricket or saddle on the up-slope side of a wide chimney, if the chimney warrants one
- Valley method named: open, closed-cut, or woven — and whether the shingle manufacturer permits that method with the shingle being installed
- Valley metal type and gauge if the valley is open
- Pipe boots — count, and the replacement type (rubber collar, metal collar, or lead)
- Drip edge at eaves and rakes, with the material and color
- Kickout flashing at every roof-to-wall termination, called out individually
- Skylight flashing kits, by unit, if there are skylights
- Any anticipated decking or fascia replacement around flashing areas, and how it will be priced if more is found
- Permit — the City of Miami requires one for new roofs and re-shingles; confirm who is pulling it
One more thing worth doing before you sign anything with anyone. Oklahoma requires roofing contractors to be registered with the Construction Industries Board, and registration requires liability insurance of at least $500,000 for residential work. You can check any contractor's registration yourself at verifyroofing.cib.ok.gov. It takes about thirty seconds and almost nobody does it.
If you want to know what condition your flashing is actually in, that is what an inspection is for — we document what we find with a photo report and give you a written estimate for the work we would perform, and you can read [what happens during a roof inspection](/what-happens-during-a-roof-inspection) before you book one. Inspections and quotes are free, whether the answer turns out to be a [repair](/services/roof-repair), a [full replacement](/services/roof-replacement), or nothing at all. We work across Miami and the rest of [Ottawa County](/locations/miami-ok) from our office on South Main. Call (209) 758-8550 if you'd like us to take a look.
Questions people ask about this
How do I know if my leak is coming from flashing or from the shingles themselves?
Look at where the water shows up relative to the roof's features. Leaks that appear near a chimney, an interior wall, a ceiling corner, a bathroom, or a skylight are usually flashing. Leaks in the middle of a room with nothing above them are more likely to be damaged shingles or nail-pop. That said, water travels along rafters before it drips, so the stain is rarely directly under the entry point — the only way to be sure is to look at the roof and the attic together.
Can flashing be replaced without replacing the whole roof?
Often, yes. Pipe boots, drip edge, kickouts, and chimney counter flashing can generally be addressed on their own. Step flashing is harder, because doing it correctly means lifting shingle courses and usually the siding as well, so on an older roof the labor sometimes makes more sense folded into a replacement. It depends on the age and condition of the shingles around the work.
What is a kickout flashing and does my house need one?
A kickout is a small bent piece of metal at the bottom of any roof-to-wall run — a garage roof meeting the house, or a dormer — that turns concentrated runoff out into the gutter instead of letting it pour into the wall. If your house has a roof edge that dies into a wall that keeps going, it needs one. Building America and DOE building-science guidance treats it as standard, and its absence causes rot inside the wall rather than a visible roof leak, which is why it goes unnoticed for years.
My roofer caulked around my chimney and it stopped leaking. Is that a real fix?
It stopped the water, which is not nothing. But caulk is an adhesive seal on a clock — Oklahoma runs 89 nights a year below freezing and days over 100 in summer, and that cycling pulls sealant apart. Correct chimney flashing works by layering, with counter flashing set into a slot cut in the mortar joint, and it does not depend on the caulk holding. Treat a caulk repair as a temporary measure and plan the real one.
Should I let a contractor reuse my existing flashing on a new roof?
Sometimes it's the right call and sometimes it's a corner being cut, so make them tell you which pieces and why. Heavy, sound counter flashing in a good reglet can reasonably stay. Thin, rusted, pitted, or previously cemented metal should not, and step flashing generally should be new because it comes apart during tear-off anyway. Get the specific answer written on the estimate — once the shingles are down, you won't see any of it again.